
Can I use inflatable tents in the winter?
INFLATABLE TENT
Discover the perfect inflatable tent designed for your outdoor adventures, offering all-season versatility—ideal for glamping and winter camping.
Discover the perfect inflatable tent designed for your outdoor adventures,
offering all-season versatility—ideal for glamping and winter camping.
INFLATABLE TENT
Discover the perfect inflatable tent designed for your outdoor adventures, offering all-season versatility—ideal for glamping and winter camping.
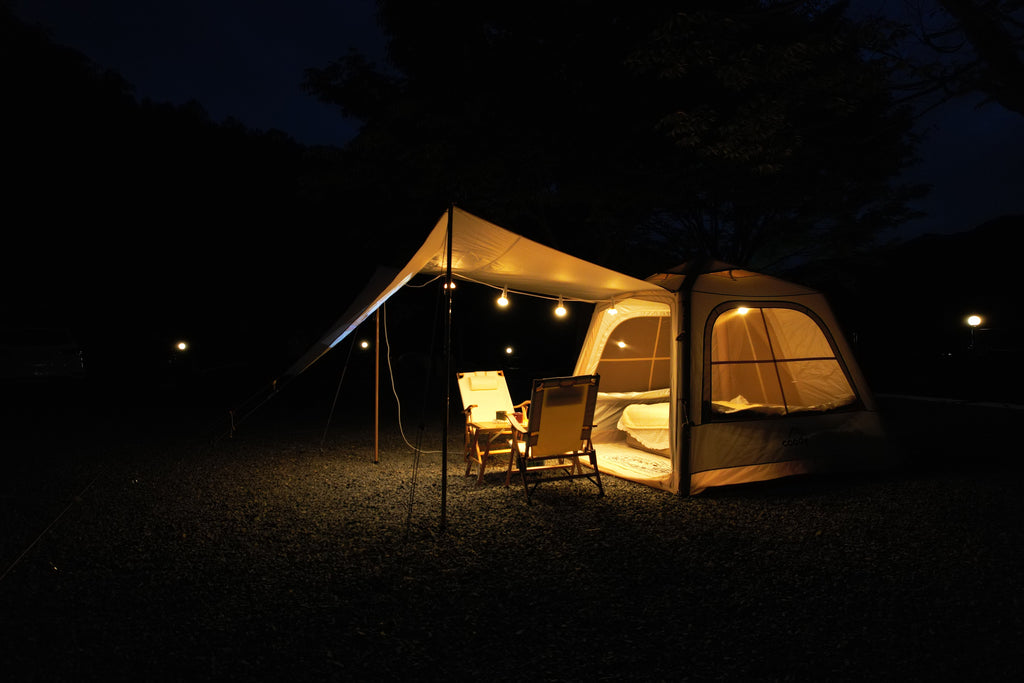
coody inflatable tents
coody inflatable tents
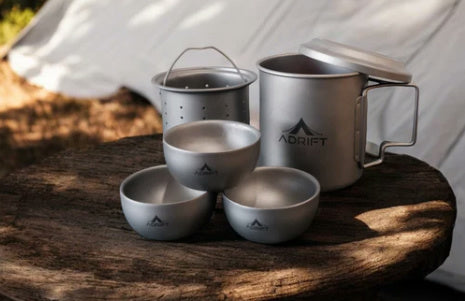
adrift inflatable tents
adrift inflatable tents
best complementary items for our Inflatable tent
best complementary items for our Inflatable tent
best complementary items for our Inflatable tent
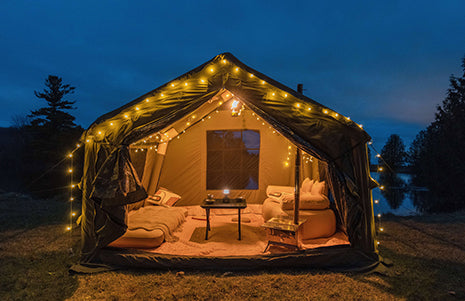
Inflatable Tent with Mattress
Inflatable Tent with Mattress
Tips for our Inflatable Tent
Tips for our Inflatable Tent
More campers are choosing inflatable tents in 2025. Discover five key reasons why—and how to choose the best one for your needs.
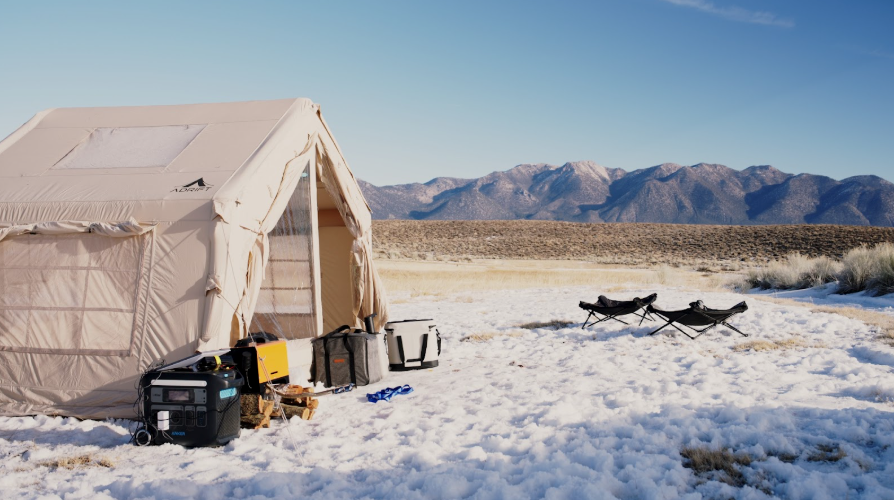
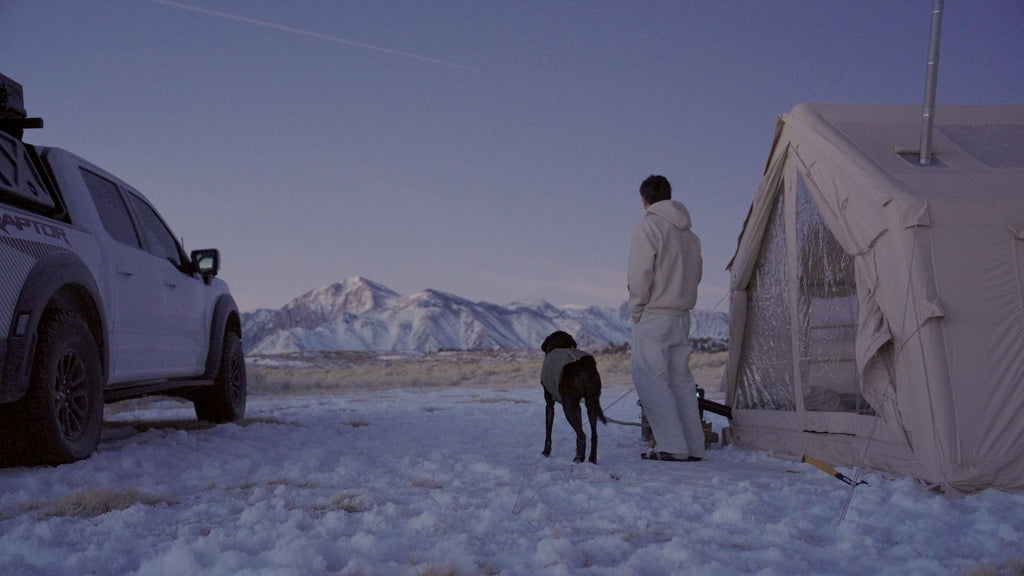
Discover the ultimate winter camping guide for 2025. Learn tips, gear essentials, and why Coody winter camping inflatable tents are the best choice for cold-weather adventures.
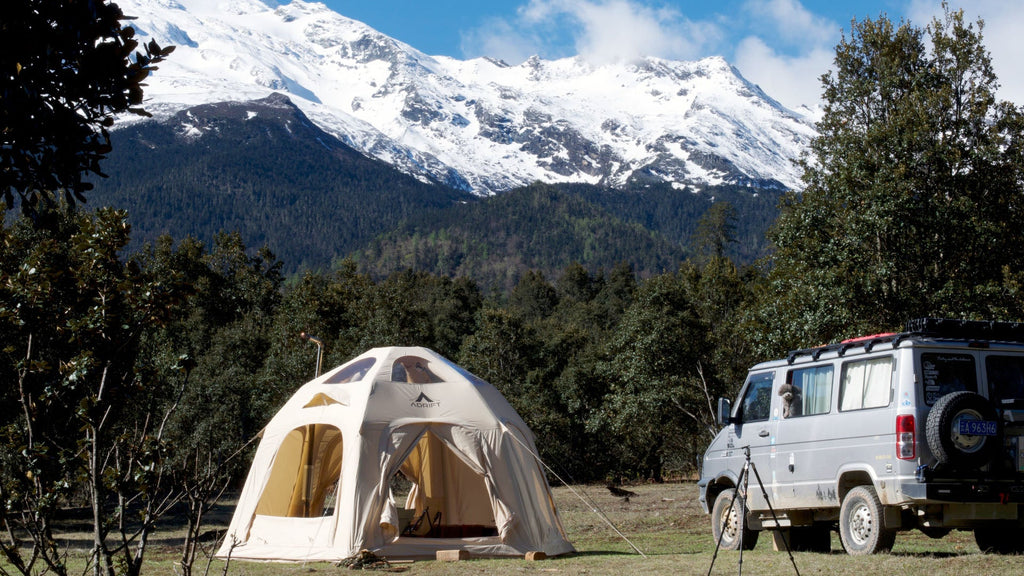
Discover our customer's camping experience with the Adrift inflatable tent on Haba Snow Mountain.
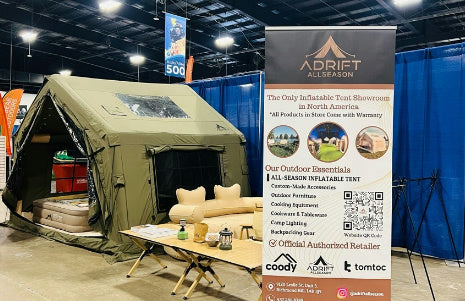
Discover top outdoor gear from The Outdoor Adventure Show! Explore how Adrift inflatable tents, Coody inflatable sofas, and more make camping easier and more enjoyable.
More campers are choosing inflatable tents in 2025. Discover five key reasons why—and how to choose the best one for your needs.
Discover the ultimate winter camping guide for 2025. Learn tips, gear essentials, and why Coody winter camping inflatable tents are the best choice for cold-weather adventures.
Discover our customer's camping experience with the Adrift inflatable tent on Haba Snow Mountain.
Discover top outdoor gear from The Outdoor Adventure Show! Explore how Adrift inflatable tents, Coody inflatable sofas, and more make camping easier and more enjoyable.

Car camping in national parks across North America offers an unparalleled way to experience the natural beauty and diverse landscapes of the continent. From the rugged peaks of the Rockies to the tranquil forests of the Appalachian Mountains, car camping provides the perfect blend of adventure and comfort. In this guide, we'll share top tips for making the most of your car camping experience in North America's national parks.

Why Car Camping in National Parks is Ideal
Car camping is a fantastic way to explore national parks for several reasons:
- Accessibility: Easily transport all your gear and supplies.
- Comfort: Enjoy the convenience of your vehicle while still being immersed in nature.
- Flexibility: Stay in different parks and explore various trails and sights.
Top Tips for Car Camping in National Parks
-
Plan and Reserve Early
- Popular Parks: National parks can get crowded, especially during peak seasons. Make reservations well in advance to secure your spot.
- Permits: Some parks require permits for camping and certain activities. Check the park’s website for details.
-
Pack Smart
- Essentials: Bring the basics like a tent, sleeping bags, cooking gear, and a first aid kit.
- Comfort Items: Pack extra blankets, camping chairs, and a portable table for added comfort.
- Weather Gear: Prepare for varying weather conditions by packing layers, rain gear, and sun protection.
-
Follow Leave No Trace Principles
- Respect Nature: Keep the parks beautiful by packing out all trash and minimizing your impact on the environment.
- Campfire Safety: Only use designated fire rings and ensure fires are completely out before leaving.
-
Know the Wildlife
- Stay Safe: Familiarize yourself with the local wildlife and follow guidelines to keep yourself and the animals safe.
- Bear Safety: In areas with bears, store food in bear-proof containers and never leave food unattended.
-
Explore Beyond the Campground
- Hiking Trails: Take advantage of the many trails available in national parks. Research hikes that suit your fitness level and interests.
- Park Programs: Participate in ranger-led programs, guided tours, and educational activities to enhance your experience.
-
Stay Connected and Safe
- Emergency Plan: Know the location of the nearest ranger station or visitor center in case of emergencies.
- Communication: Bring a map, compass, and GPS. Cell service may be limited, so have a backup plan for communication.
-
Respect Quiet Hours
- Courtesy: National parks often have quiet hours to ensure everyone can enjoy the natural sounds of the wilderness. Respect these hours for a peaceful camping experience.
- Noise: Keep noise to a minimum, especially during early mornings and late evenings.

Top National Parks for Car Camping in North America
-
Yellowstone National Park (USA)
- Highlights: Geysers, hot springs, and abundant wildlife.
- Camping Tips: Reserve early and visit during shoulder seasons to avoid crowds.
-
Banff National Park (Canada)
- Highlights: Stunning mountain scenery, glacial lakes, and diverse wildlife.
- Camping Tips: Pack warm clothing, even in summer, and be prepared for rapidly changing weather.
-
Yosemite National Park (USA)
- Highlights: Iconic granite cliffs, waterfalls, and giant sequoias.
- Camping Tips: Book campsites months in advance and use the park’s shuttle system to get around.
-
Jasper National Park (Canada)
- Highlights: Rugged peaks, dense forests, and scenic drives.
- Camping Tips: Bring bug spray for summer months and enjoy star-gazing in this dark-sky preserve.
-
Great Smoky Mountains National Park (USA)
- Highlights: Lush forests, wildflowers, and diverse wildlife.
- Camping Tips: Check for seasonal road closures and enjoy the park’s many accessible trails.
Car camping in national parks across North America is a fantastic way to connect with nature and create lasting memories. By planning ahead, packing smart, and respecting the natural environment, you can ensure a safe and enjoyable adventure for the whole family.
Ready to embark on your next car camping adventure? Check out our recommended camping gear and start planning your trip to one of North America's breathtaking national parks today!
Nothing ruins a camping trip faster than a leaky tent. Ensuring your tent is waterproof can make the difference between a miserable, soggy night and a comfortable, dry experience. In this guide, we'll share essential tips and tricks for waterproofing your tent, keeping you and your gear dry no matter the weather.

Why Waterproofing Your Tent is Crucial
Waterproofing your tent is crucial for several reasons:
- Comfort: A dry tent means a good night’s sleep.
- Safety: Wet gear can be dangerous in cold conditions.
- Durability: Proper maintenance extends the life of your tent.
Step-by-Step Guide to Waterproofing Your Tent
Choose the Right Tent
-
Before you even think about waterproofing, ensure you have a tent designed to withstand rain. Look for tents with a high hydrostatic head rating and taped seams.
-
Seal the Seams
- Seam Sealer: Apply a seam sealer to all the seams of your tent. This is crucial as seams are typically the weakest points for water entry.
- Application: Follow the manufacturer's instructions. Generally, you'll need to set up the tent, apply the sealer on the inside and outside of the seams, and allow it to dry completely.
-
Use a Waterproof Spray
- DWR Coating: Apply a Durable Water Repellent (DWR) spray to the tent's rainfly and outer fabric. This helps water bead off rather than soak through.
- How to Apply: Clean the tent first, then spray the DWR evenly across the surface. Let it dry thoroughly before packing away.
-
Check the Tent Floor
- Groundsheet: Use a groundsheet or footprint to add an extra layer of protection under your tent. This prevents moisture from seeping through the tent floor.
- Sealing: Ensure the tent floor is sealed and intact. If needed, apply a waterproof coating to the bottom of the tent.
-
Proper Tent Setup
- Location: Pitch your tent on higher ground to avoid water pooling.
- Taut Setup: Make sure the tent is pitched tautly to prevent sagging and water accumulation.
- Rainfly: Ensure the rainfly is properly installed and extends far enough to cover the tent fully.
Regular Maintenance Tips
- Inspect Your Tent: Regularly check for wear and tear, especially on seams and fabric.
- Reapply Waterproofing: Depending on usage, reapply seam sealer and DWR spray every few months.
- Proper Storage: Store your tent dry and loosely packed to prevent mildew and fabric damage.
Common Waterproofing Mistakes to Avoid
- Skipping Seams: Never skip sealing the seams; they are the most vulnerable parts.
- Inadequate Drying: Always let waterproofing treatments dry completely before packing away.
- Ignoring the Tent Floor: Ensure the tent floor is just as protected as the rest of the tent.
Waterproofing your tent is a straightforward process that can significantly enhance your camping experience. By following these tips and regularly maintaining your gear, you can ensure a dry and comfortable shelter in any weather.
Ready to waterproof your tent? Check out our recommended waterproofing products and start prepping for your next adventure today!
Pure titanium cookware has gained popularity among outdoor enthusiasts in recent years due to its lightweight, corrosion resistance, and strength. Yet, its high price tag makes some wonder: is it worth the investment?
Inflatable tents have become increasingly popular, offering a fast, hassle-free setup, superior stability, and enhanced comfort. However, many campers hesitate due to their higher price compared to traditional tents. So, why are inflatable tents more expensive and worth the investment?
Car camping in national parks across North America offers an unparalleled way to experience the natural beauty and diverse landscapes of the continent. From the rugged peaks of the Rockies to the tranquil forests of the Appalachian Mountains, car camping provides the perfect blend of adventure and comfort. In this guide, we'll share top tips for making the most of your car camping experience in North America's national parks.
Why Car Camping in National Parks is Ideal
Car camping is a fantastic way to explore national parks for several reasons:
- Accessibility: Easily transport all your gear and supplies.
- Comfort: Enjoy the convenience of your vehicle while still being immersed in nature.
- Flexibility: Stay in different parks and explore various trails and sights.
Top Tips for Car Camping in National Parks
-
Plan and Reserve Early
- Popular Parks: National parks can get crowded, especially during peak seasons. Make reservations well in advance to secure your spot.
- Permits: Some parks require permits for camping and certain activities. Check the park’s website for details.
-
Pack Smart
- Essentials: Bring the basics like a tent, sleeping bags, cooking gear, and a first aid kit.
- Comfort Items: Pack extra blankets, camping chairs, and a portable table for added comfort.
- Weather Gear: Prepare for varying weather conditions by packing layers, rain gear, and sun protection.
-
Follow Leave No Trace Principles
- Respect Nature: Keep the parks beautiful by packing out all trash and minimizing your impact on the environment.
- Campfire Safety: Only use designated fire rings and ensure fires are completely out before leaving.
-
Know the Wildlife
- Stay Safe: Familiarize yourself with the local wildlife and follow guidelines to keep yourself and the animals safe.
- Bear Safety: In areas with bears, store food in bear-proof containers and never leave food unattended.
-
Explore Beyond the Campground
- Hiking Trails: Take advantage of the many trails available in national parks. Research hikes that suit your fitness level and interests.
- Park Programs: Participate in ranger-led programs, guided tours, and educational activities to enhance your experience.
-
Stay Connected and Safe
- Emergency Plan: Know the location of the nearest ranger station or visitor center in case of emergencies.
- Communication: Bring a map, compass, and GPS. Cell service may be limited, so have a backup plan for communication.
-
Respect Quiet Hours
- Courtesy: National parks often have quiet hours to ensure everyone can enjoy the natural sounds of the wilderness. Respect these hours for a peaceful camping experience.
- Noise: Keep noise to a minimum, especially during early mornings and late evenings.
Top National Parks for Car Camping in North America
-
Yellowstone National Park (USA)
- Highlights: Geysers, hot springs, and abundant wildlife.
- Camping Tips: Reserve early and visit during shoulder seasons to avoid crowds.
-
Banff National Park (Canada)
- Highlights: Stunning mountain scenery, glacial lakes, and diverse wildlife.
- Camping Tips: Pack warm clothing, even in summer, and be prepared for rapidly changing weather.
-
Yosemite National Park (USA)
- Highlights: Iconic granite cliffs, waterfalls, and giant sequoias.
- Camping Tips: Book campsites months in advance and use the park’s shuttle system to get around.
-
Jasper National Park (Canada)
- Highlights: Rugged peaks, dense forests, and scenic drives.
- Camping Tips: Bring bug spray for summer months and enjoy star-gazing in this dark-sky preserve.
-
Great Smoky Mountains National Park (USA)
- Highlights: Lush forests, wildflowers, and diverse wildlife.
- Camping Tips: Check for seasonal road closures and enjoy the park’s many accessible trails.
Car camping in national parks across North America is a fantastic way to connect with nature and create lasting memories. By planning ahead, packing smart, and respecting the natural environment, you can ensure a safe and enjoyable adventure for the whole family.
Ready to embark on your next car camping adventure? Check out our recommended camping gear and start planning your trip to one of North America's breathtaking national parks today!
Nothing ruins a camping trip faster than a leaky tent. Ensuring your tent is waterproof can make the difference between a miserable, soggy night and a comfortable, dry experience. In this guide, we'll share essential tips and tricks for waterproofing your tent, keeping you and your gear dry no matter the weather.
Why Waterproofing Your Tent is Crucial
Waterproofing your tent is crucial for several reasons:
- Comfort: A dry tent means a good night’s sleep.
- Safety: Wet gear can be dangerous in cold conditions.
- Durability: Proper maintenance extends the life of your tent.
Step-by-Step Guide to Waterproofing Your Tent
Choose the Right Tent
-
Before you even think about waterproofing, ensure you have a tent designed to withstand rain. Look for tents with a high hydrostatic head rating and taped seams.
-
Seal the Seams
- Seam Sealer: Apply a seam sealer to all the seams of your tent. This is crucial as seams are typically the weakest points for water entry.
- Application: Follow the manufacturer's instructions. Generally, you'll need to set up the tent, apply the sealer on the inside and outside of the seams, and allow it to dry completely.
-
Use a Waterproof Spray
- DWR Coating: Apply a Durable Water Repellent (DWR) spray to the tent's rainfly and outer fabric. This helps water bead off rather than soak through.
- How to Apply: Clean the tent first, then spray the DWR evenly across the surface. Let it dry thoroughly before packing away.
-
Check the Tent Floor
- Groundsheet: Use a groundsheet or footprint to add an extra layer of protection under your tent. This prevents moisture from seeping through the tent floor.
- Sealing: Ensure the tent floor is sealed and intact. If needed, apply a waterproof coating to the bottom of the tent.
-
Proper Tent Setup
- Location: Pitch your tent on higher ground to avoid water pooling.
- Taut Setup: Make sure the tent is pitched tautly to prevent sagging and water accumulation.
- Rainfly: Ensure the rainfly is properly installed and extends far enough to cover the tent fully.
Regular Maintenance Tips
- Inspect Your Tent: Regularly check for wear and tear, especially on seams and fabric.
- Reapply Waterproofing: Depending on usage, reapply seam sealer and DWR spray every few months.
- Proper Storage: Store your tent dry and loosely packed to prevent mildew and fabric damage.
Common Waterproofing Mistakes to Avoid
- Skipping Seams: Never skip sealing the seams; they are the most vulnerable parts.
- Inadequate Drying: Always let waterproofing treatments dry completely before packing away.
- Ignoring the Tent Floor: Ensure the tent floor is just as protected as the rest of the tent.
Waterproofing your tent is a straightforward process that can significantly enhance your camping experience. By following these tips and regularly maintaining your gear, you can ensure a dry and comfortable shelter in any weather.
Ready to waterproof your tent? Check out our recommended waterproofing products and start prepping for your next adventure today!
Pure titanium cookware has gained popularity among outdoor enthusiasts in recent years due to its lightweight, corrosion resistance, and strength. Yet, its high price tag makes some wonder: is it worth the investment?
Inflatable tents have become increasingly popular, offering a fast, hassle-free setup, superior stability, and enhanced comfort. However, many campers hesitate due to their higher price compared to traditional tents. So, why are inflatable tents more expensive and worth the investment?
Inflatable Tent - faq
Inflatable Tent - faq


